
Table of Contents
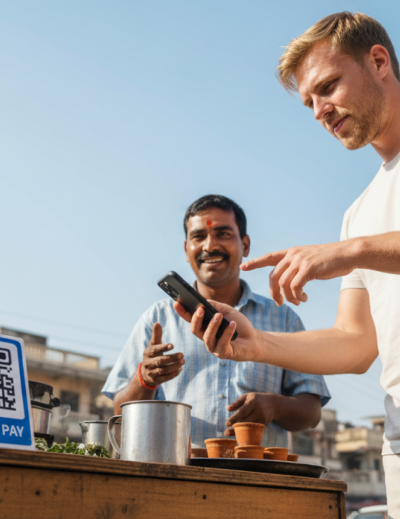
You land in India. You grab your bag, clear immigration, and step out into the city. Within the first hour you’ll want to pay for a taxi, a bottle of water, maybe a chai. And almost immediately, you’ll notice something: nobody is using cash. The taxi driver has a QR code on his dashboard. The chai stall has one taped to the side of a tin box. The hotel front desk has one laminated at the counter.
India runs on UPI — a payment system so fast and so embedded into daily life that most Indians haven’t carried cash regularly in years. Over 21 billion UPI transactions were processed in January 2026 alone. Street vendors, five-star restaurants, temple donation boxes, Zomato orders — all of it, UPI.
For a long time, tourists were locked out. UPI required an Indian bank account and an Indian phone number. If you didn’t have both, you were stuck watching locals scan and pay in three seconds while you fumbled for notes and hoped the vendor had change.
That changed with UPI One World — and Mony is one of the apps built on top of it, designed specifically so that international visitors can use UPI with just a passport and an international card.
Here’s exactly how to get set up.
What Is Mony, and Why Does It Exist?
Mony is a UPI wallet for international tourists visiting India. It’s listed on the NPCI website as an approved UPI One World issuer — which means it’s authorised to give foreign visitors access to India’s UPI payment network without requiring an Indian bank account or local phone number.
UPI One World itself is an initiative by India’s National Payments Corporation (NPCI) to extend UPI to tourists. Instead of connecting to a bank account (the way regular UPI works), it uses a prepaid wallet model: you load money from your international card, and that balance becomes spendable at any UPI merchant in India.
The result is that you can pay at the same QR codes that 1.4 billion Indians use every day — from the hotel check-in desk to the embroidery shop in Jaipur — without needing anything more than your phone.
Before You Start: What You’ll Need
Getting set up on Mony is straightforward. Before you open the app, have these ready:
- Your passport — you’ll photograph it as part of the KYC process
- Your visa details or India arrival date — used to verify your tourist status
- An international debit or credit card (Visa, Mastercard, or similar) to load your wallet
- Your smartphone — iOS or Android both work
You don’t need an Indian SIM card. You don’t need to be physically in India to start the process. Most of the setup can be done from wherever you are right now.
Step 1: Download the Mony App
Search for Mony on the App Store (iPhone) or Google Play (Android) and download the app. It’s free.
The best time to do this is before your flight — ideally a few days in advance, to give yourself time to complete verification without any last-minute stress. Plenty of travellers set it up in the departure lounge. Some do it the night before. Either works.
Once the app is installed, open it and tap Get Started.
Step 2: Enter Your Basic Details
You’ll be asked for a short set of details to create your account:
- Your name, exactly as it appears on your passport
- Your email address
- Your nationality
That’s it for the initial sign-up. No Indian mobile number required. The flow is designed with international visitors in mind, so it doesn’t make assumptions about having a local number or address.
Step 3: Upload Your Documents (KYC)
This is the verification step that sits at the heart of the UPI One World framework. It’s required by the NPCI and RBI to confirm you’re an international visitor — and it’s what unlocks your ability to make payments at UPI merchants across India.
You’ll need to upload two documents:
- Primary document: Your passport
- Secondary document: An OCI card, NRI card, or a valid driver’s licence from your country of residence
Take clear, well-lit photos. Hold the document flat on a dark surface, make sure all four corners are visible, and check that the text is readable before submitting. Blurry or cut-off images are by far the most common reason for delays — spending an extra 30 seconds here saves you hours later.
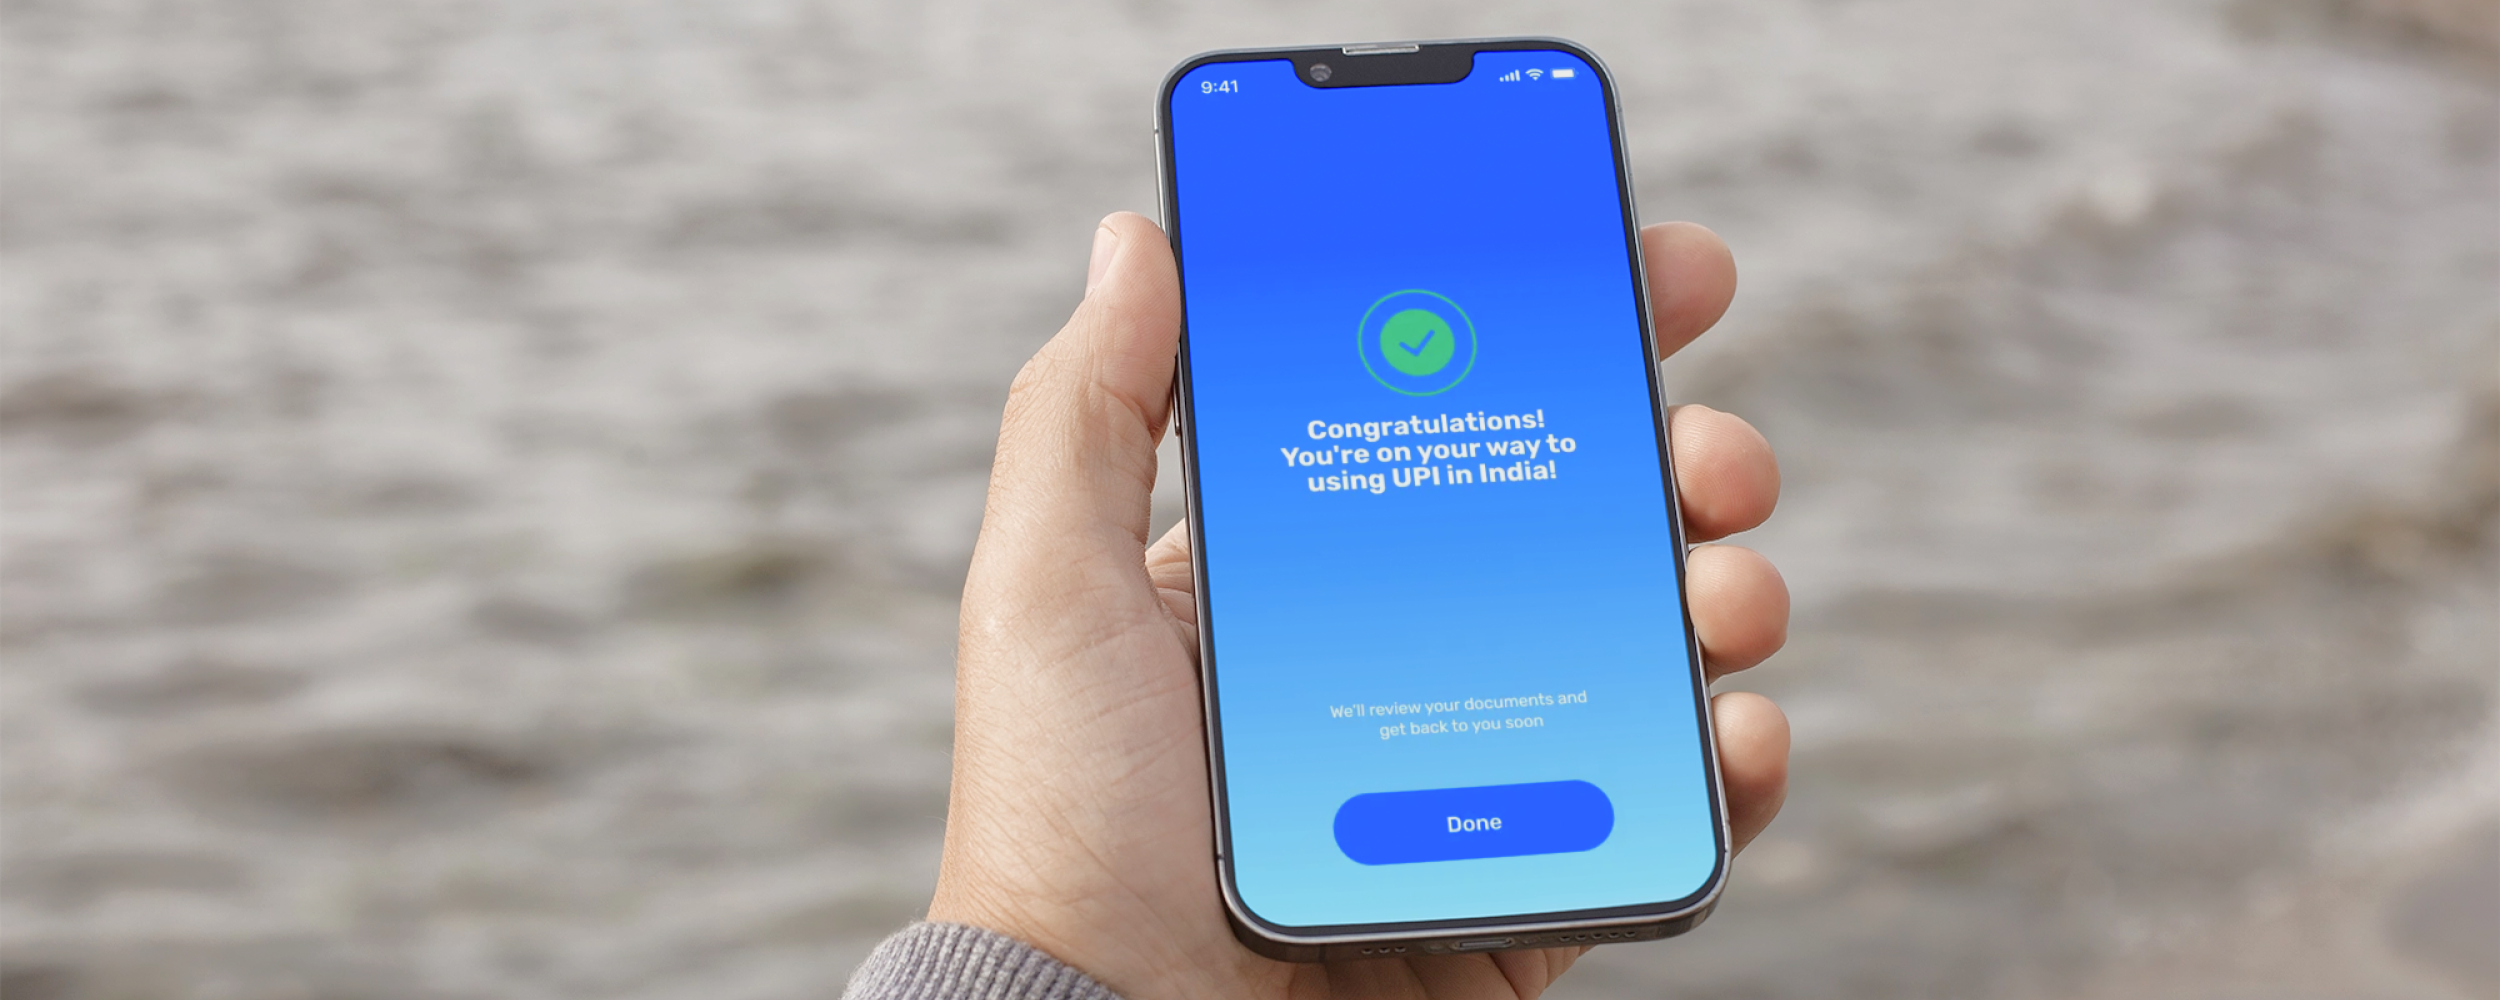
Once submitted, Mony‘s team reviews your documents. In most cases, verification is completed within 24 to 48 hours of your arrival in India. You’ll receive a notification when you’re cleared.
A note on timing: If you’re submitting documents a week before travel, don’t worry if nothing happens immediately — verification is tied to your arrival date in India. The review happens around the time you land.
Step 4: Add Money to Your Wallet
Once your KYC is approved, you’ll get a notification to activate your wallet. Activation happens when you make your first deposit.
You can load money using:
- An international debit or credit card
- An international bank transfer
- Apple Pay
How much should you load? A good starting point for a week of typical travel is around ₹10,000–₹20,000, depending on your plans. That covers meals, transport, shopping, and entry fees for most destinations. If you’re planning serious shopping in markets like Johari Bazaar in Jaipur or Colaba Causeway in Mumbai, or a longer trip, load more.
You can always top up from within the app using the same payment methods. Most travellers find it easier to load a larger amount upfront and not think about it — but the option to add as you go is there.
As soon as the funds land, your wallet is active. You’re ready to pay.
Step 5: Set Your UPI PIN
Before your first transaction, you’ll set a UPI PIN — a 4 or 6-digit code that authorises every payment you make. Think of it as a payment-specific PIN: it only ever gets used inside the Mony app when you’re confirming a transaction.
Never share your UPI PIN with anyone. No bank, no merchant, no customer service agent, no one from Mony will ever ask for it. In India, UPI scams sometimes involve people posing as bank officials asking for your PIN — treat it exactly as you’d treat your bank card PIN, and you’ll be fine.
Set something memorable but not obvious. Avoid birth years, 1234, or anything on your passport.
Step 6: Pay Anywhere in India
You’re set up. Time to use it.
At any shop, restaurant, café, market stall, or booking counter displaying a UPI QR code, here’s how payment works:
- Open the Mony app
- Tap Scan QR
- Point your camera at the merchant’s QR code
- Enter the amount (or confirm it if it’s pre-filled)
- Enter your UPI PIN to confirm
The merchant gets a payment confirmation on their phone within seconds — usually a recorded voice chime saying “payment received” along with the amount. You’ll get a confirmation in the app too. The whole thing takes about 10 seconds.
One safety habit worth building: before you scan, glance at the QR code and check that it shows the merchant’s name clearly. Legitimate merchant QR codes always display a registered business name. If a QR code shows only a phone number, looks taped over another code, or the merchant seems evasive about it — pay cash instead.
What Can You Pay For With Mony?
The more useful question is: what can’t you pay for? Mony works at any verified UPI merchant in India — and that covers the vast majority of places tourists actually spend money.
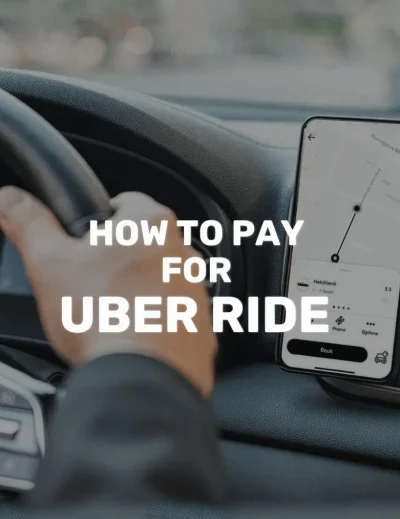
In practice, that means street food stalls and roadside chai shops; cafés and restaurants of every size; hotels and guesthouses; local markets, bazaars, and boutiques; museum and monument entry tickets; Uber and Ola app-based rides; online bookings including IRCTC train tickets, Zomato, Swiggy, and more; and pharmacies, grocery shops, and convenience stores.
Mony works at roughly 90% of businesses tourists spend money at — including the 70% that reject international cards entirely.
One important thing to know: Mony is designed for merchant payments only. It doesn’t support person-to-person (P2P) transfers — meaning you can’t send money directly to another individual’s UPI ID. If a vendor asks you to “just transfer to my number,” that’s a P2P request and Mony won’t support it. Scan their QR code instead, or pay cash.
What to Expect on the Ground
The theory is one thing. Here’s what actually using Mony looks like across a typical day in India.
You wake up, walk to a local café, and order a masala dosa and a filter coffee. The bill comes to ₹180. The counter has a QR code on a small stand. You open Mony, scan, enter ₹180, confirm with your PIN. Done before the person behind you has even looked up from their phone.
You grab an Uber to a temple complex. ₹240. UPI payment option in the app — Mony works for it. You arrive, buy an entry ticket from a booth. QR code on the counter. ₹50. Scan. Done.
For lunch you wander into a lane restaurant — the kind with plastic chairs, steel thalis, and handwritten menus. A QR code is taped to the wall next to the kitchen window. ₹320 for a full meal. Mony works here too.
By evening you’re at a bazaar. A textile vendor quotes you ₹1,800 for a pashmina. You negotiate to ₹1,400. He has a QR code on a card in his shirt pocket. Scan. Done.
That’s what UPI looks like in practice. Every one of those transactions would have required cash if you didn’t have it.
Common Questions
Can I set up Mony before I arrive in India?
Yes — and you should. Download the app, submit your documents, and have everything ready so that when you land, you just need to add money and go. Trying to figure out KYC at a busy airport with your bags and jet lag is not fun.
What if my phone runs out of battery?
Keep a small amount of cash — ₹1,000–₹2,000 — as a backup for exactly this scenario. A portable power bank is worth packing for India regardless; the heat drains batteries faster than you might expect.
Is Mony safe?
Yes. UPI operates under the oversight of the Reserve Bank of India (RBI) and NPCI. Every Mony transaction requires your personal PIN, and the app uses banking-grade encryption. The same infrastructure that protects over a billion Indian bank accounts is protecting yours.
What if I have money left when I leave India?
Any unused balance in your Mony wallet can be refunded to your original card. You won’t lose unspent funds.
Do I need a local SIM card to use Mony?
No. Mony works over Wi-Fi or data from an international roaming plan. That said, having a local SIM (Airtel or Jio, available at the airport for around ₹300–₹500) is worth it for connectivity throughout your trip — especially in areas with patchy roaming.
The Bottom Line
India is one of the most digital payment-forward countries in the world — it’s just digital in a different way than most tourists expect. Cards don’t work at most of the places you’ll want to spend money. Cash costs you 4–8% in fees and exchange rate markups. UPI is free, instant, and accepted everywhere.
Mony is how you access it as a tourist. Download it before you fly, complete your verification, load your wallet, and you’ll spend less time hunting for ATMs and more time actually enjoying India.
New to UPI? Read: What Is UPI?
Weighing all your payment options? Read: How to Pay in India as a Tourist
Already set up and need to add funds? Read: UPI Wallet for Foreigners Visiting India: A Complete Guide


Leave a Reply